How to Use a MacBook as a Monitor?
As more people build flexible multi-device workstations, one question frequently comes up: Can you use a MacBook as a monitor? Whether you're trying to extend a PC display or mirror a second Mac, the idea of using your MacBook as an external display is appealing—but not so straightforward.
This article explores whether it is possible to turn a MacBook into a monitor, outlines practical solutions, and answers related questions users often ask.
Why You Can’t Use a MacBook as a Monitor via HDMI or USB-C?
The short answer is no, you cannot use a MacBook as a second monitor through a physical HDMI or USB-C cable. MacBooks are built with display output capabilities only. They lack the necessary hardware to accept video input, meaning you can’t plug in a gaming console, another computer, or any device and expect the MacBook to display it.
Unlike some older iMacs that supported Target Display Mode, no MacBook currently on the market allows direct video input.
If your goal is to extend your screen using a direct HDMI or USB-C connection, a portable monitor is a much more practical and cost-effective solution. Unlike a MacBook or iPad, which are not designed to accept video input, portable monitors are built for this exact purpose.
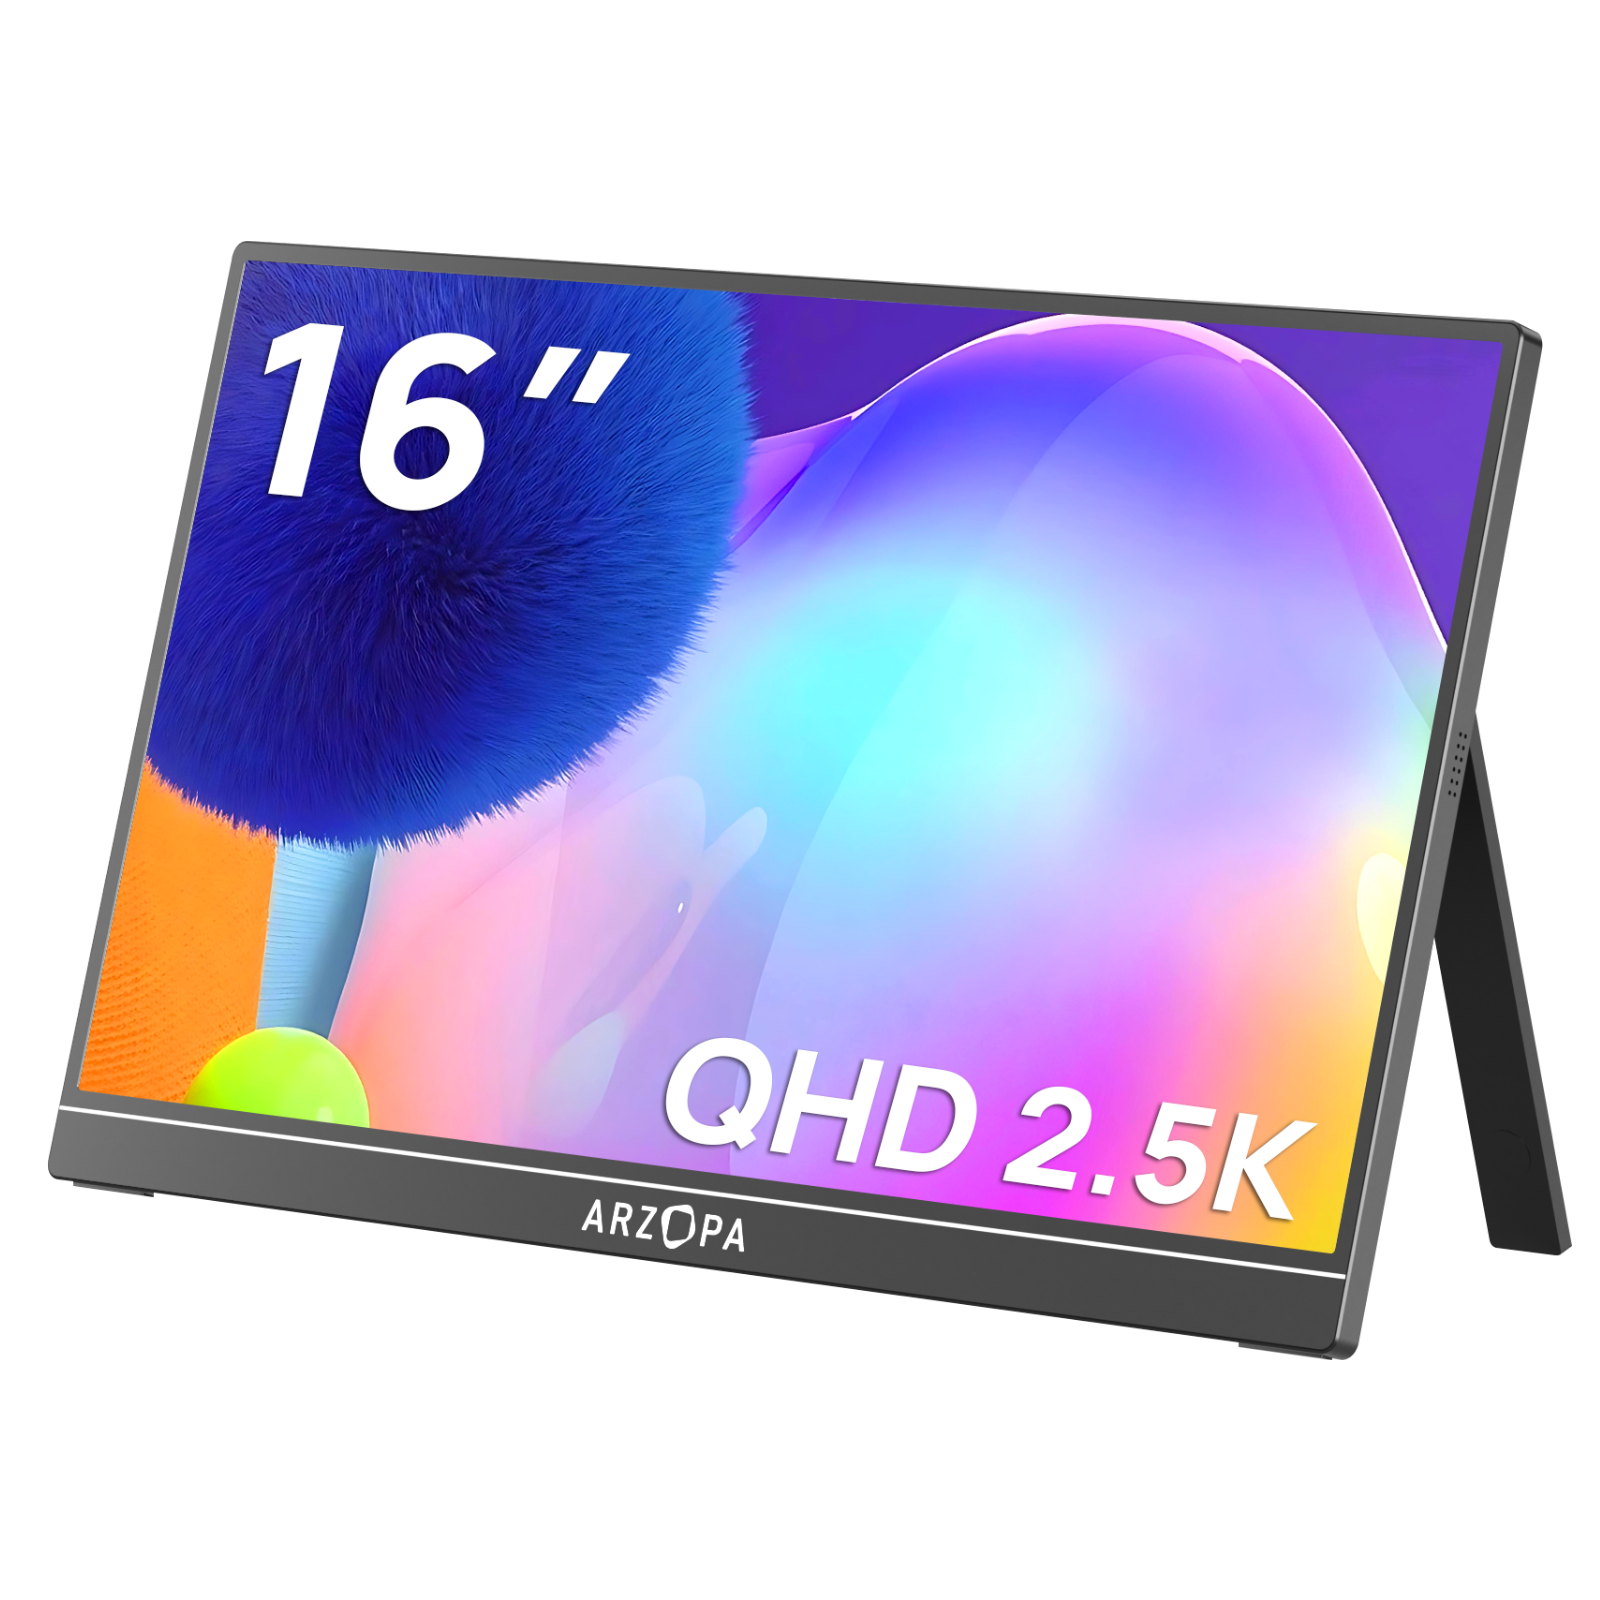
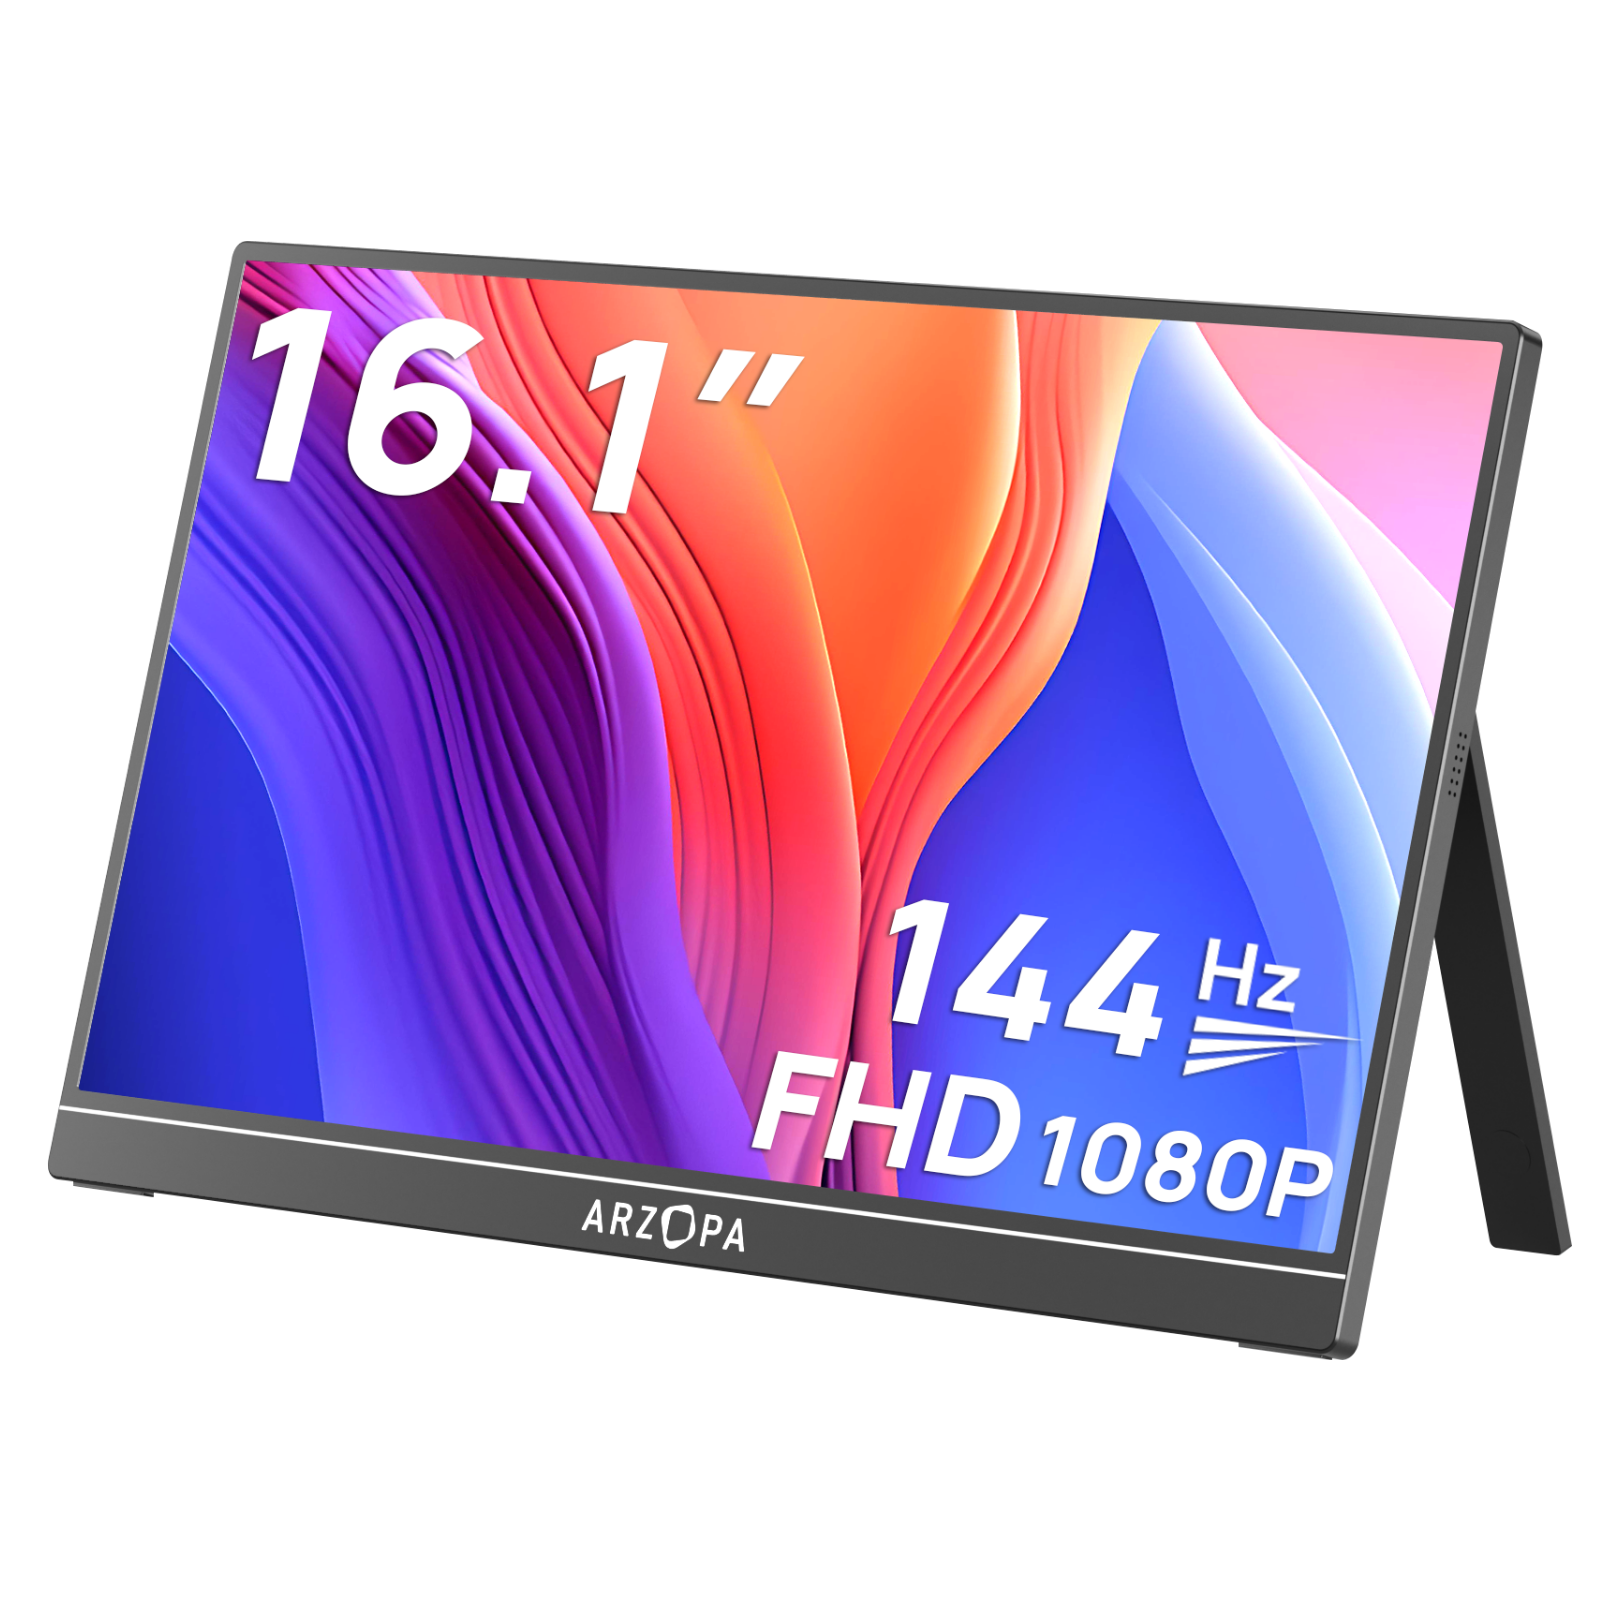
Take the Arzopa Z1FC 144Hz Portable Monitor as an example. It offers a 16.1-inch Full HD IPS display with an ultra-smooth 144Hz refresh rate, making it an excellent choice not just for work but also for gaming and media consumption. You can connect it directly to your laptop, Steam Deck, Nintendo Switch, smartphone, or even desktop PC using a simple USB-C or HDMI cable - no drivers, no setup hassle.
Solution 1: Use macOS Screen Sharing for Mac to Mac Setup
If you have two Macs and want to mirror or control one from the other, macOS includes a built-in screen sharing feature that allows remote access over Wi-Fi.
Steps:
-
On the source Mac (the one you want to share), go to System Settings > General > Sharing and enable Screen Sharing.
-
On the MacBook, open Finder, click Go > Connect to Server, and enter the IP address of the source Mac using the format vnc://[IP address].
This setup is ideal for remote control or light multitasking but may not offer the smooth performance of a true second display.
Solution 2: Use Third-Party Apps to Turn MacBook into a Monitor
If you're looking to use your MacBook as a monitor for a PC or as an extended screen for another Mac, these third-party tools can help:
Luna Display
Luna Display is a hardware-based solution that turns your MacBook into a true wireless second monitor. It plugs into the HDMI or USB-C port of your main device and connects via a dedicated app. Luna offers excellent performance with minimal lag, making it ideal for creative professionals and multitaskers.
- Purchase a Luna Display dongle.
- Connect PC to your MacBook with an ethernet cable.
- Install the Luna Display app on PC.
- Install Luna Secondary on MacBook.
- Launch the apps on both computers. You can enable the 'Retina Resolution' option for the best results.
Duet Display
Duet Display is a software-based solution developed by ex-Apple engineers. It works via USB or Wi-Fi and supports both Windows and macOS. It's easy to set up and affordable, although performance can vary depending on your network.
- Install Duet Display on both your computers.
- Open Duet and log in on both devices.
- Locate your Mac in the 'Connect Devices' tab.
- Click 'Mirror' or 'Extend'.
- Click 'Connect'.
SpaceDesk
SpaceDesk is a free Windows-based solution that allows you to extend your PC display to your MacBook through a web client. It works well over Wi-Fi and is best for casual use such as document editing or web browsing.
1. Install the spacedesk driver on your PC
2. Verify your setup and installation
Go to Control Panel > Programs > Programs and Features and make sure the spacedesk driver is listed.
Look for the spacedesk system tray icon in the bottom right of the screen. If so, click on it to open the console. Go to the Control tab and make sure the radio button next to On is checked.
Open computer's ‘Control Panel’ and navigate to ‘Windows Firewall’ > ‘Allow an application through Windows Firewall’ > ‘Change Settings’. Select Allow another application and navigate to spacedeskService.exe. Check the checkbox next to its name and the checkboxes next to Dedicated and Public. Click OK.
3. Make sure your PC and Mac are connected to the same network
4. Navigate to http://viewer.spacedesk.net/ on your Mac
5. Select PC and click 'Connect'
6. Adjust your settings from your PC’s Display Control Panel
From there, you can choose whether to:
- Duplicate (mirror) or extend PC’s display
- Select which monitor is primary display
- Make adjustments to things like the orientation of the display, the size of text and apps on the screen, your screen resolution, and so on.
Third Party Airplay Apps
Download an app that enables Airplay on your PC.
Airplay is a feature that makes it incredibly easy to cast your screen to and from various Apple devices. Although Windows PCs don’t come with built-in Airplay capabilities, there are several third-party apps that can make your PC into an Airplay sender or receiver. While you generally have to pay for these apps, some of them offer free trials.
- Some popular options include AirParrot and AirMyPC.
- Check the documentation that comes with the app to make sure it allows you to cast from your PC to an Airplay device.
- Follow the installation instructions for your chosen app.
Enable your Mac as an Airplay receiver
You’ll need to have macOS 12 or later installed on your MacBook for this to work.
Go to Mac Apple Apple menu > System Settings and select General from the left menu pane. Click AirDrop & Handoff in the main menu on the right. Toggle on Airplay Receiver. Click the menu next to Allow Airplay for and select Anyone on the Same Network.
Make sure your MacBook and PC are on the same network
Airplay uses Wi-Fi to connect two devices together, so you’ll need to ensure that both your computers are logged into the same network.
Open the Airplay app on your PC
With most of these apps, you’ll find the app icon in the System Tray at the bottom right corner of your screen, near the clock. Click the icon to open the app menu.
Select your MacBook from the list of available receivers
Your Airplay app should now begin casting to your MacBook! Use the tools in the app menu on your PC to select whether to mirror or extend your screen, stream just a specific app to your MacBook screen, and so on.
Alternative: Use iPad Instead of MacBook with Sidecar
While MacBooks can't be used as traditional monitors, Apple does offer a native feature called Sidecar that lets you use an iPad as a second display for a Mac. It works wirelessly, requires no setup beyond signing into iCloud, and delivers excellent performance—especially for Mac users on the move.
Consider a Portable Monitor for Maximum Compatibility
If your goal is to extend your screen space without compatibility headaches, a portable monitor may be the better choice. For example, the Arzopa Z1FC 144Hz 16.1" Portable Monitor] supports USB-C and HDMI, making it plug-and-play compatible with most laptops, gaming consoles, and even smartphones. It’s lightweight, travel-friendly, and requires no drivers—perfect for digital nomads and remote workers.
Compared to using a second MacBook or even a tablet as an extended screen, a portable monitor like the Z1FC offers:
-
Lower cost with excellent display quality
-
Higher refresh rates for smoother visuals
-
True plug-and-play compatibility
-
Ultra-slim and lightweight design for easy travel
Whether you're a digital nomad, student, content creator, or casual gamer, a portable monitor provides the flexibility and performance you need—without the complexity or cost of repurposing another computer.
Conclusion
While you cannot use a MacBook as a traditional monitor through direct input like HDMI or USB-C, there are reliable workarounds using third-party apps and remote access tools. Whether you're trying to mirror a PC, extend a second Mac, or control a remote desktop, options like Luna Display, Duet Display, and Screen Sharing can get the job done.
If you're frequently working across multiple devices, it may be time to invest in a dedicated portable monitor for a smoother, more efficient setup.
FAQs
Can I use my MacBook as an external monitor for a PC?
Not with a cable, but you can use software-based solutions.
Can I use a MacBook as a second screen for another Mac?
Yes, using macOS Screen Sharing or third-party apps.
Is there a way to mirror my Windows laptop to my MacBook screen?
Yes, using apps like Luna Display, Duet Display, or SpaceDesk.


